Vercel Native Integration: Create a Neon Branch Per Preview
Now available in the Vercel Marketplace
To Vercel users deploying Neon via the Vercel Marketplace: we have good news. You can now use Neon’s Native Vercel Integration to automatically create a database branch for each Vercel preview deployment. Check out our docs for a step-by-step guide.
Why deploy Neon branches in your Vercel project
Context
You get isolated databases for every preview
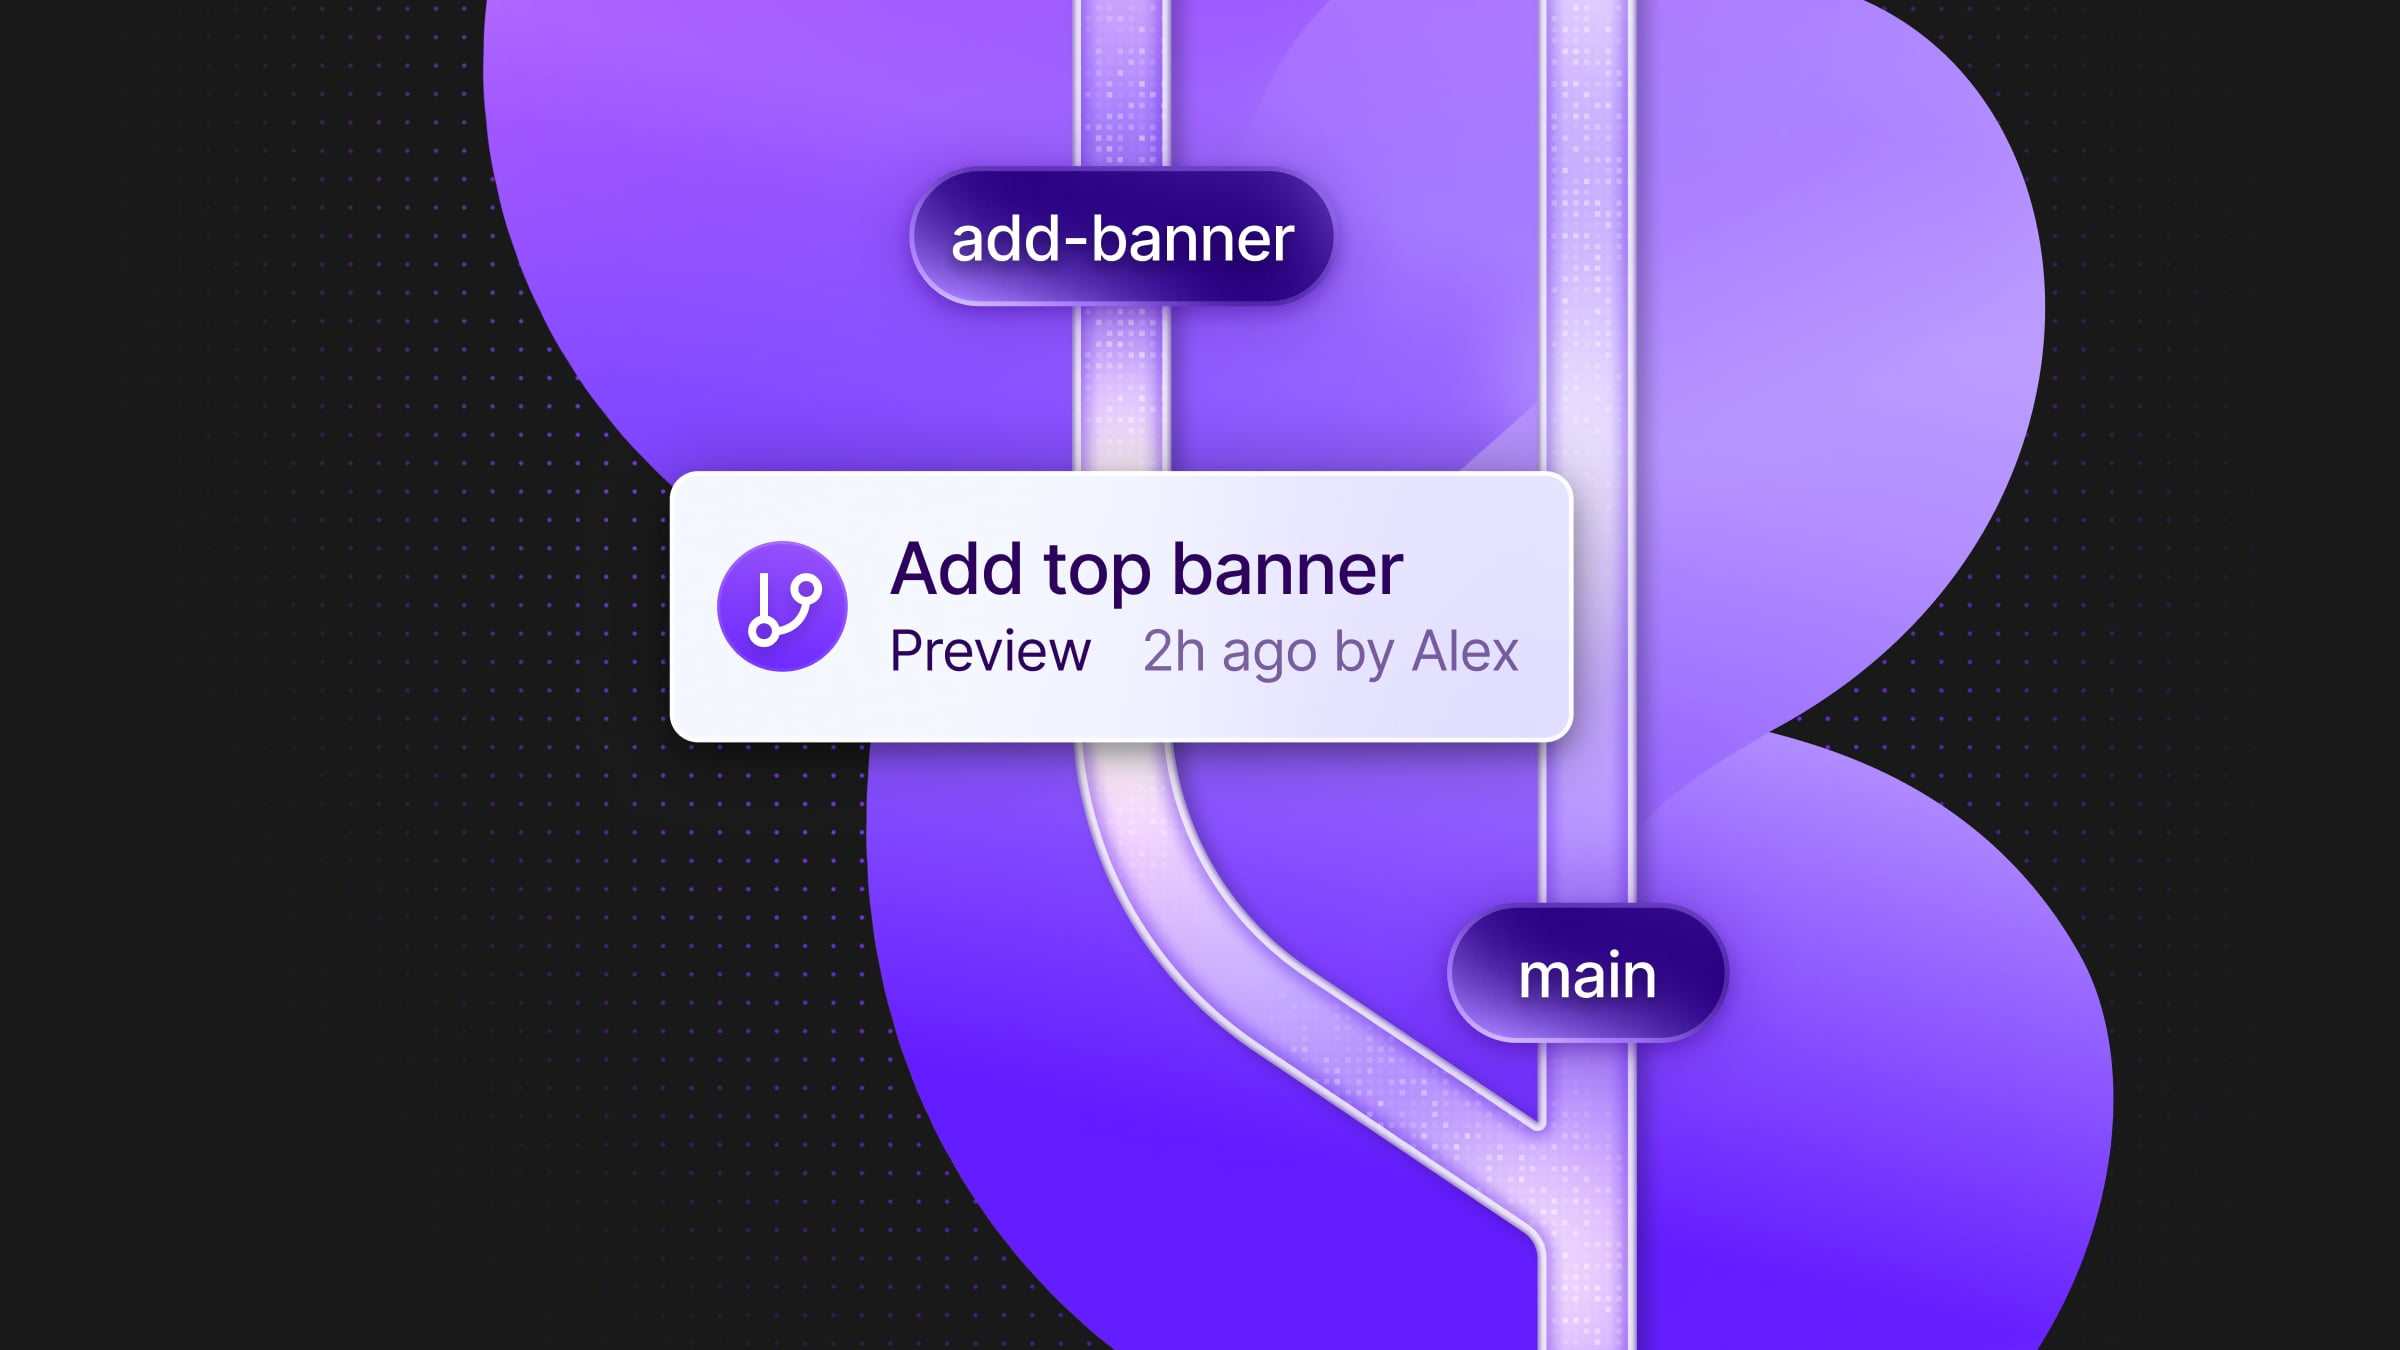
In a typical workflow, every PR points to the same database—this causes conflicts, leftover test data, confusion around schema versions… With Neon’s integration, tests in one preview deployment won’t affect another. When the PR is closed or merged, you simply delete the Neon branch in question.
Databases don’t need to be populated with seed data
Neon branches work via copy-on-write: each Neon branch is ready instantly with a perfect “copy” of the data and schema of its parent. This eliminates the need to manually populate a preview database with seed data.
You can test application and schema changes together
If your database schema is managed in code, you can integrate schema migrations directly into your Vercel deployment process. By adding migration commands to your build configuration, you ensure that schema changes in your commits are applied automatically to the database branch created for the preview deployment.
Resetting environments takes one click
If something goes wrong during testing or you need a fresh start, resetting an environment is as simple as recreating the branch. Since Neon branches are lightweight and quick to spin up, this process is instantaneous. You’re no longer stuck manually cleaning up data or resetting your testing database, which saves valuable development time.
How to set it up
The first step is to connect your Vercel project to your Neon database in Vercel. If you don’t have a Neon database yet via Vercel, you can create one in the Storage tab of your Vercel dashboard.
Once you have your Neon database ready, navigate to it, and click “Connect”:

Next,
- Select the environments you want to make your database available to: Development, Preview, or Production. This will add a set of database environment variables to the selected environments in your Vercel project.
- Under “Advanced Options”,
- Enable the “Required” option under “Deployments Configuration”
- Under “Create a database branch for deployment”, select “Preview”
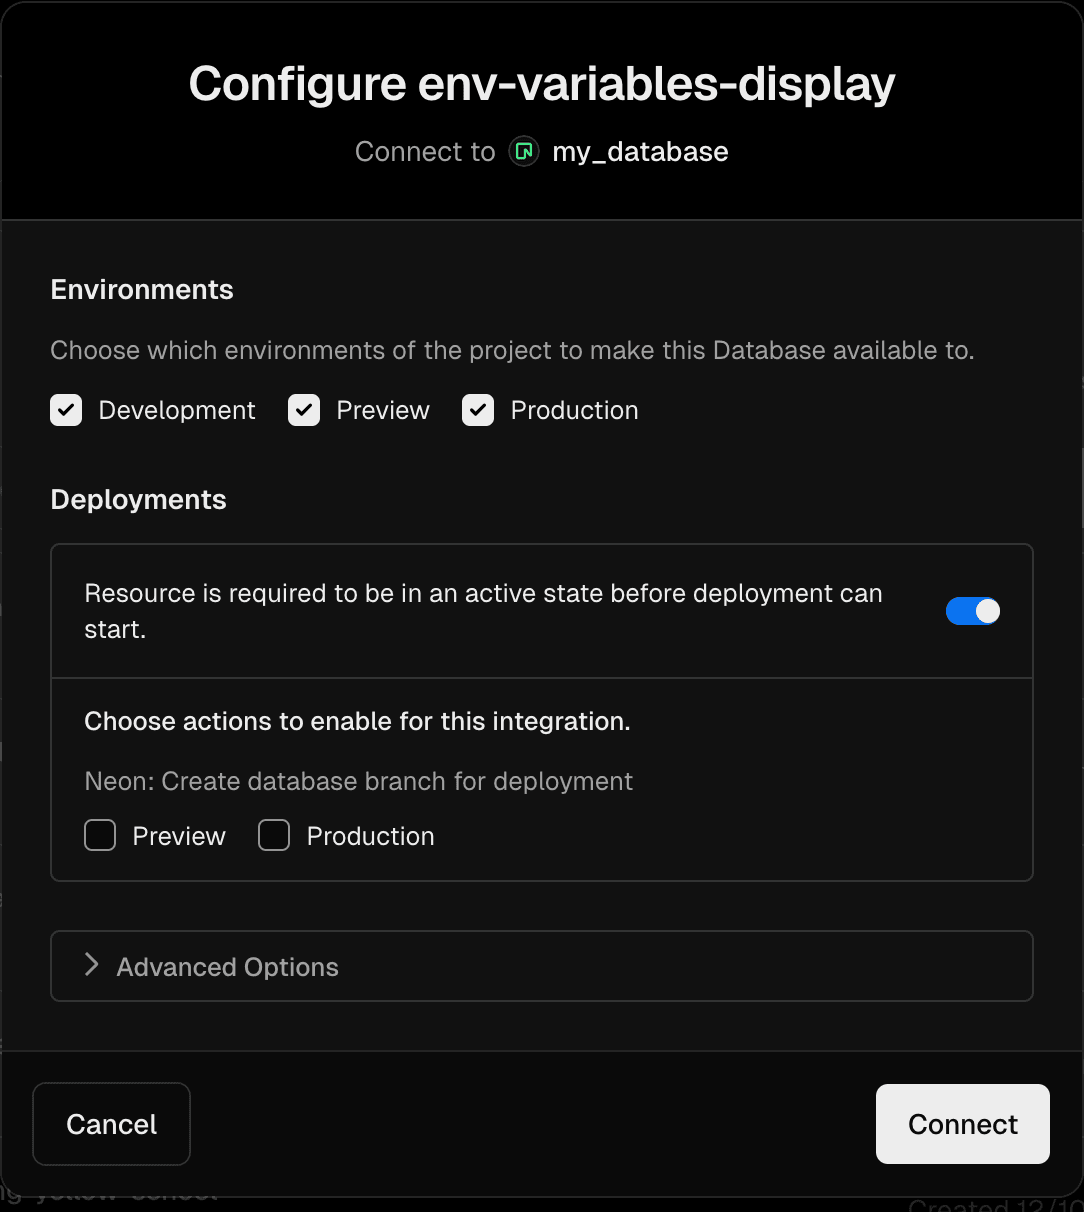
Once you’re done, click “Connect”. That’s it: with each commit to a branch in your application’s GitHub repository, Vercel preview deployments will be created with their own Neon branch.
Check out our documentation for more detailed instructions, and join us on Discord to ask questions.